What is an Aurora
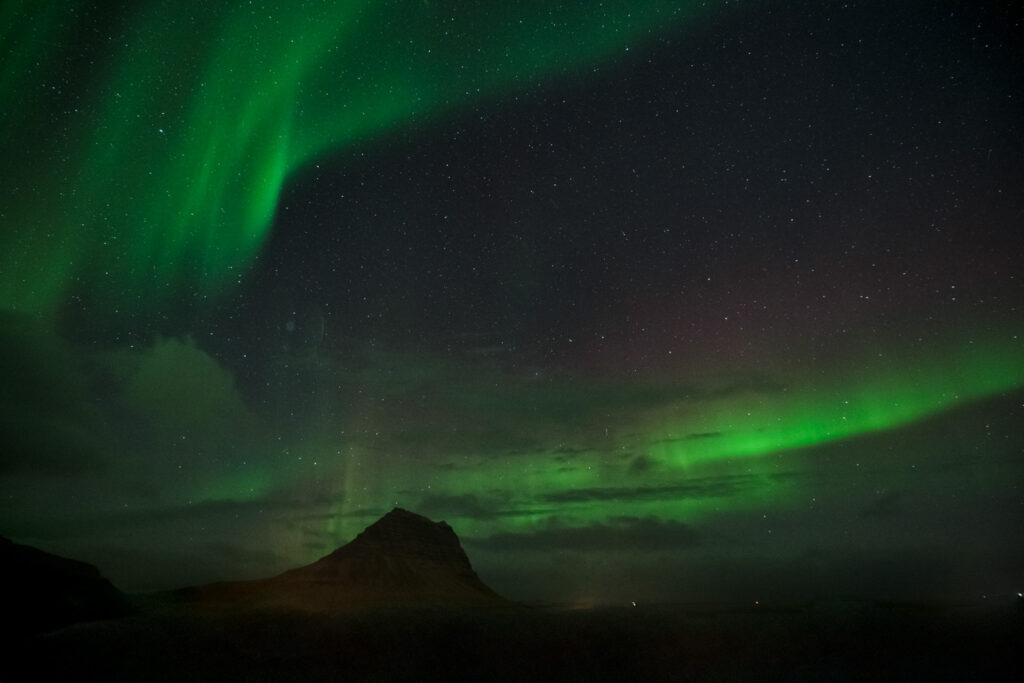
While I can’t give a definitive answer, it is the solar winds and other things the sun ejects interacting with the upper atmosphere of Earth. Probably the magnetosphere, but I won’t guarantee it.
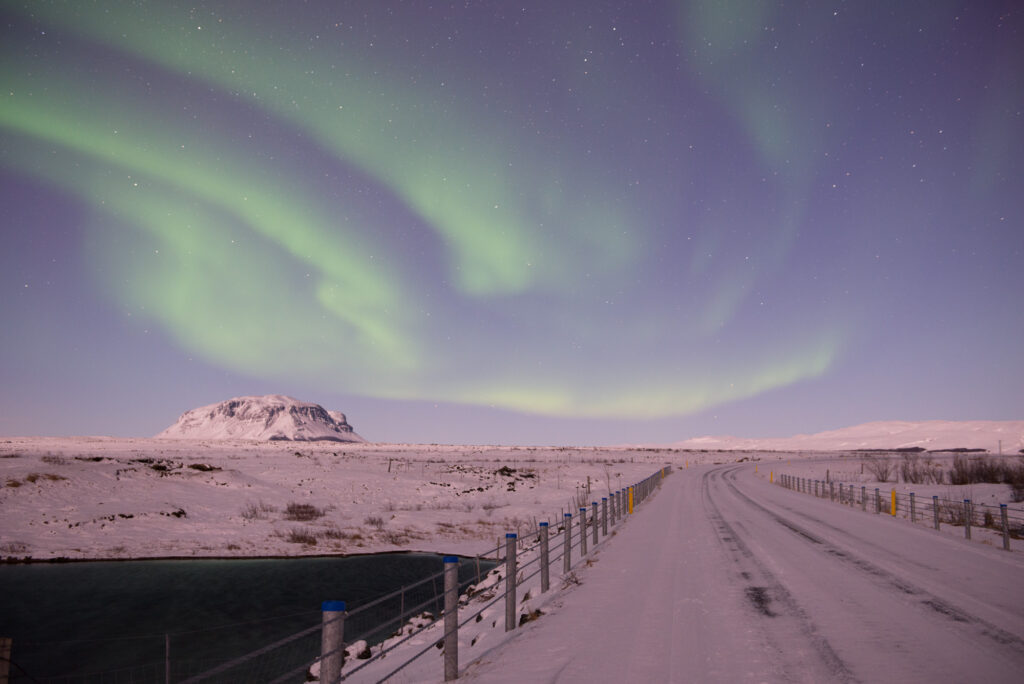
The different colors are an indication of the energy of the interaction. Green, the most common color, is the lowest activity level. Red, Purple, and even a very rare Orange/Yellow are possible colors. Exactly what causes the different colors is up for debate, but the belief is that it is the interaction of the sun’s energy with different elements in the upper atmosphere. Oxygen, Nitrogen, etc. have different colors.
The more active the sun, the more active the aurora has a chance to become. However, there are times when the aurora is just crazy and no one saw it coming.
Aurora Formations
When the aurora is active, it has several different formations in the sky.
Curtain – The most common formation and the one most people think about. In this, the aurora looks like a sheet blowing in the wind.
Arc – A common formation, especially when the aurora activity is low. This looks like an arc across the sky. It is mostly straight.
Corona – a rarer formation that looks like lines emanating from a roughly centra point, like a crown. As this formation is less common I do not have any photos of it.
STEVE – a companion formation that is not the aurora but is mistaken for an afterglow of the aurora.


Photographing the Aurora
You’ll need a shorter shutter speed than you might think.
For Example: Many of the photos taken in 2024 of the Auroras as far south as the Carolinas show what I call a red mush in the sky. You can see that there is color, and you can see that it is an aurora color, but there is little to no definition. Which is to be expected, just seeing the aurora that far south is a once in a hundred year event. But this is a photography blog, and we can do better than ‘just seeing it’.
Some historical exposures I’ve used are – 5.0 Seconds, f/2.8, ISO 2000. 13.0 Seconds, f/3.5, ISO 1600.
One of the advantages of experience is that I have old photos I can use as a reference. I don’t have many, but I have enough. On my most recent trip to Iceland, I tried to keep the shutter speed to 5 seconds or below, as the aurora was quite active and any longer would have just created a green mush in the sky. On a previous trip, I have images where the shutter is as high as 13 seconds, but the aurora was not very active that day.
From a technical side, I used the amazing Nikon 14-24 f/2.8 lens that was for the older F mount. I am aware that this lens is very expensive and there are other options. But I purchased this lens in 2014 or 2015, and I have it and still use it. I paid full price, which was around $1800 USD, but that was a while ago. I currently pair it with a Nikon D850, but it has also been paired with a D800, D750, and I let some friends use it as well.
The aurora can move quickly or just look like it is staying there. The activity level will affect your shutter speed.
I have and like to use the Nikon 14-24 f/2.8 F-Mount lens. It is very expensive, and there are other options. However I’ve had this lens for 10 years and it has really served me well.
When the aurora is dancing, sometimes it just makes sense to get your framing done right and hold the shutter down to take a lot of photos. It is very hard to predict how it will move, and spray and pray is an effective technique.


Editing the Images
Your camera is smart, you are smarter.
One important step, one that you wouldn’t at first assume, is that the camera and software will not understand that the sky should be very green. I have many images where LightRoom tried to ‘fix’ my green sky by making my snow purple. This is an easy fix but one to be aware of, as your camera preview will make this same mistake.
You’ll also want to make sure the sky is properly dark. When taking a photo, even in a fairly remote location, light can add up and your dark sky will end up not dark.

That’s Quite a Change
I’m still a little unsure if the color balance is the way I want, but this is certainly better and only took about 5 minutes in LightRoom. The sky is much bluer and darker, while the aurora is brighter and greener. At the same time the purple cast on the snow is gone.
Outside of some light denoising, here are my changes. I’m sure I could throw the image into Photoshop, spend an hour getting everything perfect, but the image is mostly to illustrate the issues and so I won’t do that.


Watch the Histogram
I really like this image. But it has one glaring problem. The Green Channel!
If you are not careful, you can actually overexpose the Green channel. So while you are taking your photos, make sure to keep an eye on your green histogram.
Sadly, this was my best aurora image of the night, except I overexposed the green.


This took Way Too Much Work
Eventually I was able to improve the image, but not fully fix it.
I still like this image. And I feel like it can still be fixed, but by the point it gets helped, is it still my image? Or would I need to use so many tools that it becomes photo-based art and no longer photography.

And That’s How I Do It
I hope you enjoyed this post and I appreciate your time.
If you find this useful, or I made a mistake, let me know. Good luck with your own aurora images, and good luck seeing it.
Part 2 is going to take me a few weeks (maybe more, knowing me definitely more). I’m going to discuss the non-technical side where I talk about what makes a good aurora image and other non-technical things.
-Brad