The demise and then undemise of TikTok has been polluting my Instagram feed with lower quality photography information. So here’s what I saw and what is correct. This is based on my experience which goes back to film, where this was a bit more important.
I saw a post on IG, and then immediately lost it. The poster was a younger and inexperienced photographer who gave information claiming that the perfect exposure is when the meter shows an arrow right in the middle. I do not remember the details as it was late and I was exhausted.
The information in this reel was not necessarily wrong, but it was definitely not correct.
The Absolute Basics
The light meter shows you from -2 to +2 stops of exposure. If it is right in the middle, that is where the camera thinks is correct. It is a based on where a 20% grey sheet would be exposed correctly. That’s it. Find where the little square or squares are sitting, on your display, and the camera will see what the proper exposure to make that 20% grey, and that’s your middle.
How does that affect your images?
Ok, now this is the good question.
Under most circumstances, this will probably get you within half a stop of ideal. The issues arise when you put your focus point on something that is extra dark or very light.
Snow and clouds are a great example of very light. If you take a photo of pure white snow, your photo will be about 1-2 stops underexposed. The snow will end up as a light-mid grey.
The same issue comes up with extra dark items. While a brown bear might be ok, a black bear will be overexposed. This can also happen a lot with trees, if the brown is dark enough, the image will end up overexposing the tree branch until it ends up as a lighter brown.
Then How Can I Fix This?
Exposure Compensation is your friend.
If you point at a scene and your light meter says middle, but you know it should be +1, raise your exposure compensation to +1 and you’ll get your exposure spot on.
This takes practice, but the effort is worth it.
Practice? How Can I Do That?
The way I did it was to go outside, in the middle of the day, and try to get my exposure right.
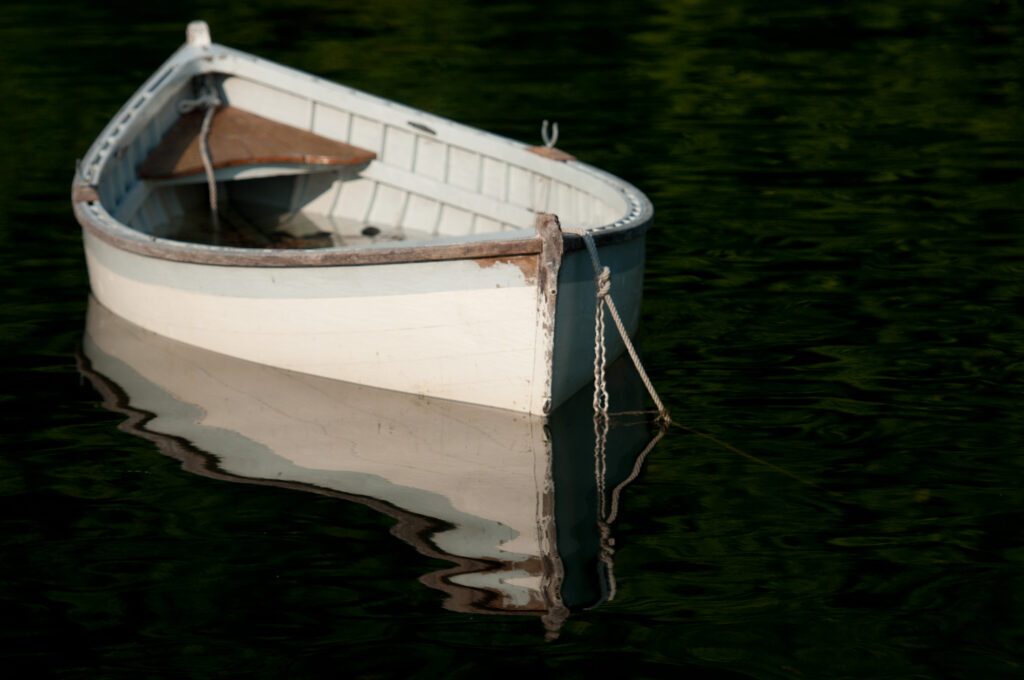
I personally spent about 2 hours walking around a small harbor in Maine, just trying to get a feel.
There are two ways to go – Manual exposure and some sort of auto exposure.
- If you shoot in Manual, you’ll want the light meter to be, say, 1 stop over center if you think the object is brighter than the 20% grey.
- If you shoot in Aperture or Shutter Priority, you’ll want to set your compensation to +1 and point at the object. It can be tricky at first, but if you go the wrong way, the image will be too dark or too light and you’ve learned how you need to adjust your settings so your camera takes an image the way you want it to.
Another technique is to squint. If you squint, the scene will lose details and it can help you develop a feeling for the brightness of a scene or object in a scene. After some practice, you’ll get an idea for where 20% grey sits. After you get used to it, anything darker will be negative on exposure compensation, anything lighter will be positive compensation, if you want a ‘proper exposure’.
Some of these tricks may need adjustment with a different camera or different brand.
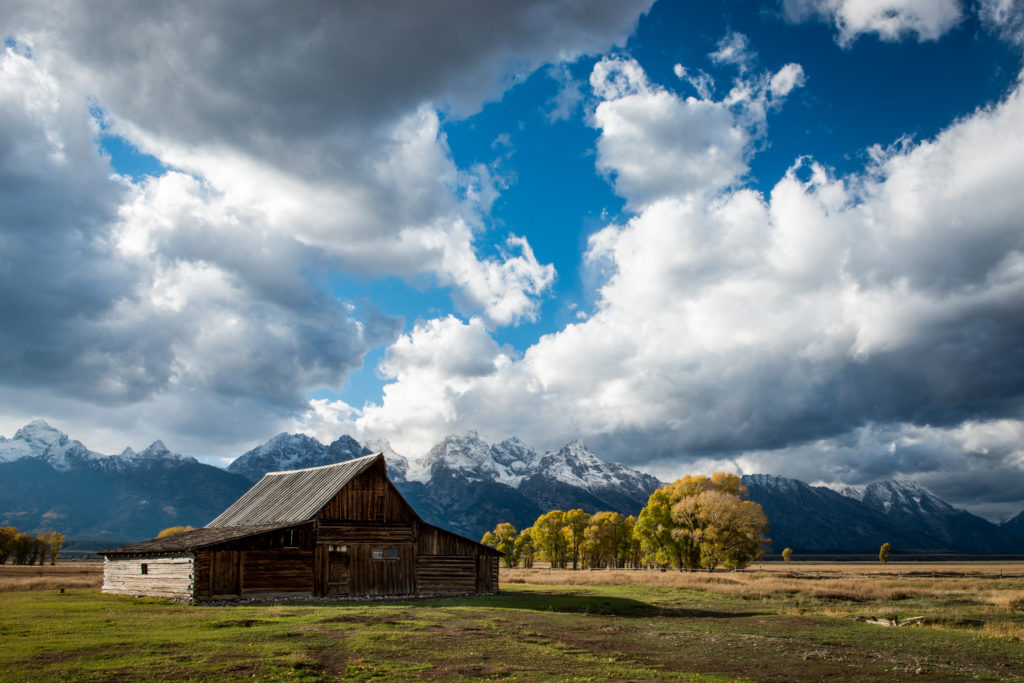
On a later trip, I used the same tricks to keep the clouds from overexposing.
But with a modern digital camera, does this matter
[sigh] Yeah, this might be right. With my digital cameras, I can probably overexpose the image by 1-1.5 stops or underexpose by about the same. A small difference of ‘what I like’ from ‘where the camera thinks is right’ may be recoverable in software after the shot.
If nothing else, learning this technique will help you learn how your camera works and thinks, which will help you make better images with your camera in the future.
How do I Use Exposure Compensation?
Once I lock in a composition (tripod) or start to compose (handheld), I usually take a test shot. After this, I look at the histogram and see if it looks like a good exposure. Sometimes I just know what the scene needs, but often it needs small adjustments. If I point the focus point at a tree, and it is underexposed by a bit, I’ll use the exposure compensation and increase by .33 or .66 stops and try again. I have found that single point AF or aperture or shutter priority tends to need help. If the focus area is larger, the camera does a better job getting a good exposure.
Isn’t this related to the zone system by Ansel Adams?
The understanding of the brightness of a scene is one of the things that the zone system builds upon. The very basics of the zone system is related to the ability to judge brightness, which leads to manual metering.
Or it would make a nice short form video in the future. I dunno. I would need a bit to get my thoughts in a row before trying to make a video. Let me know if this would be helpful, and maybe I’ll start my next career as a YouTuber.
-Brad